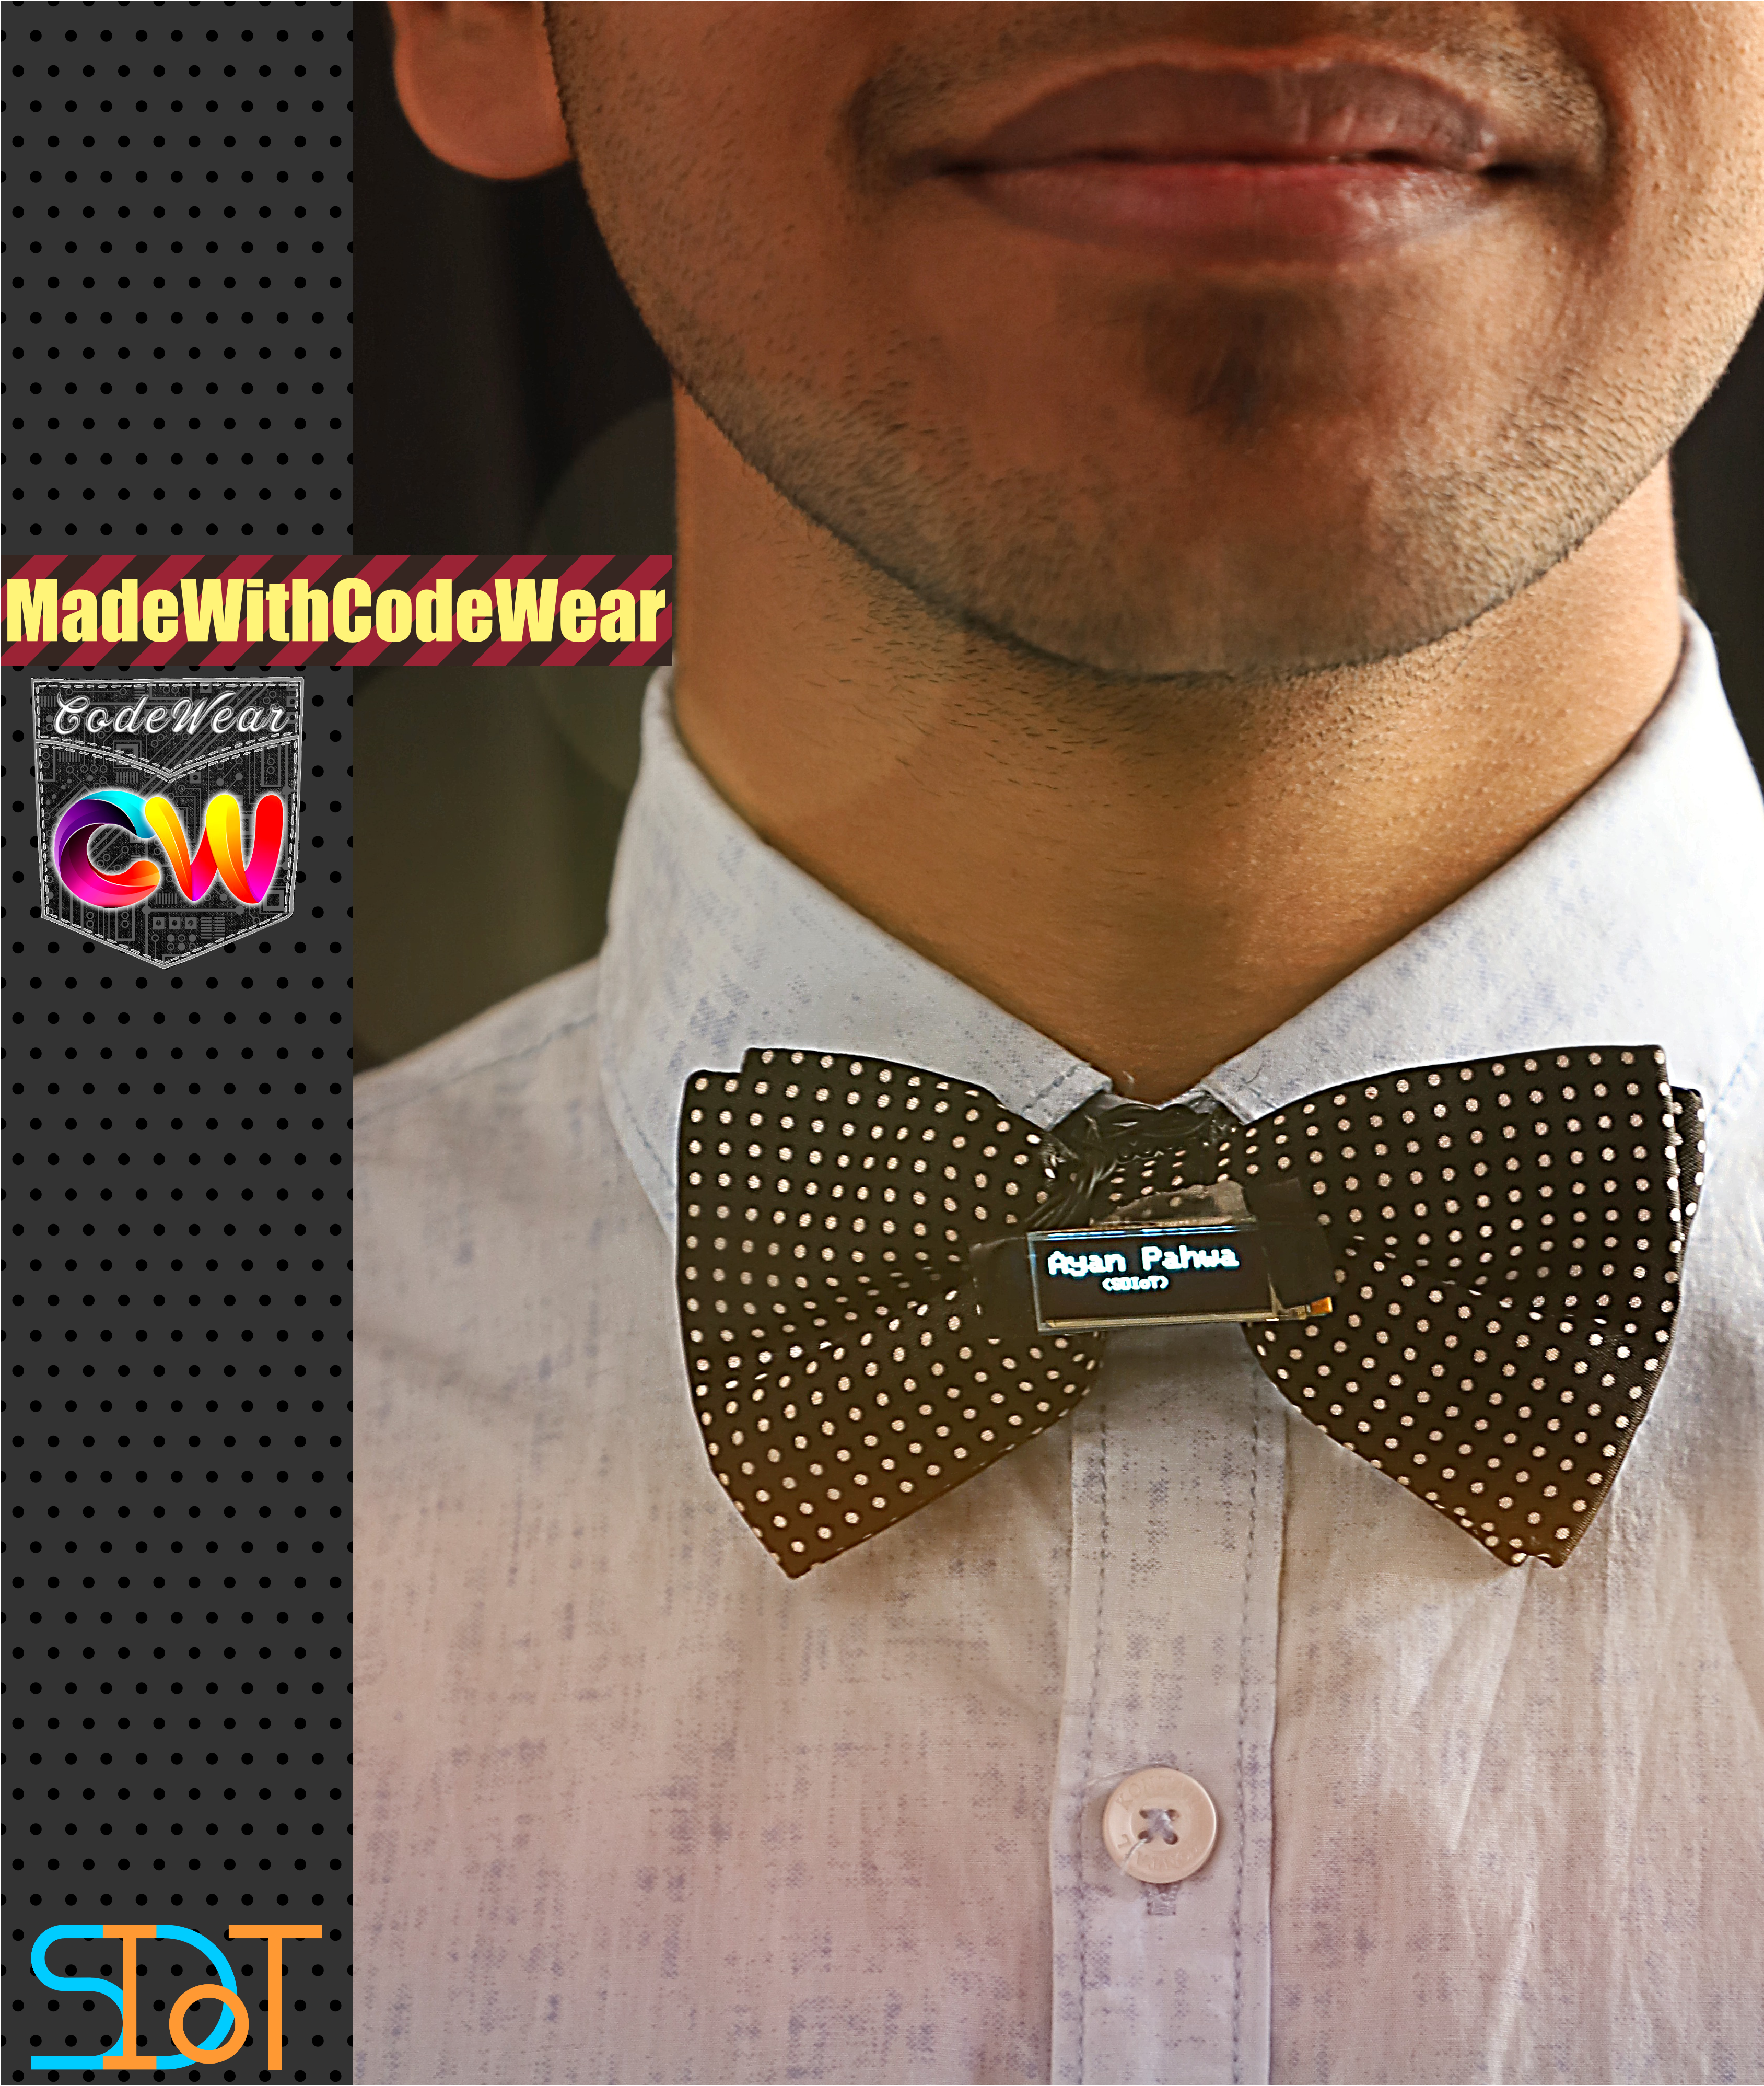

iBow-T: A GentleMan ID
What would you do if you have a bunch of OLED displays lying around, catching dust on your shelf? Well now you put them up on your Bow Tie, pimp it for your next corporate party and catch everyone’s eye, sounds cool hah? Let’s make an iBow-T ;) This is a demo project for one of many to be made with platform we are building namely CodeWear .
CHECKLIST :
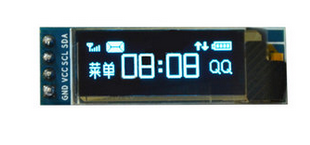
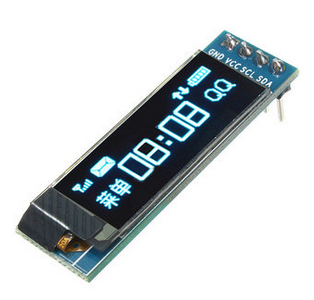
- 1x SD1306 OLED Displays
- 1x Arduino Pro Mini
- 2x CR2032 coin cell holders
- 2x 3v coin cell
- 1x On/Off switch(small)
- 1x USB to TTL for programming arduino, such as FTDI or CP2102
- Silicon wires
Let’s Get Started:
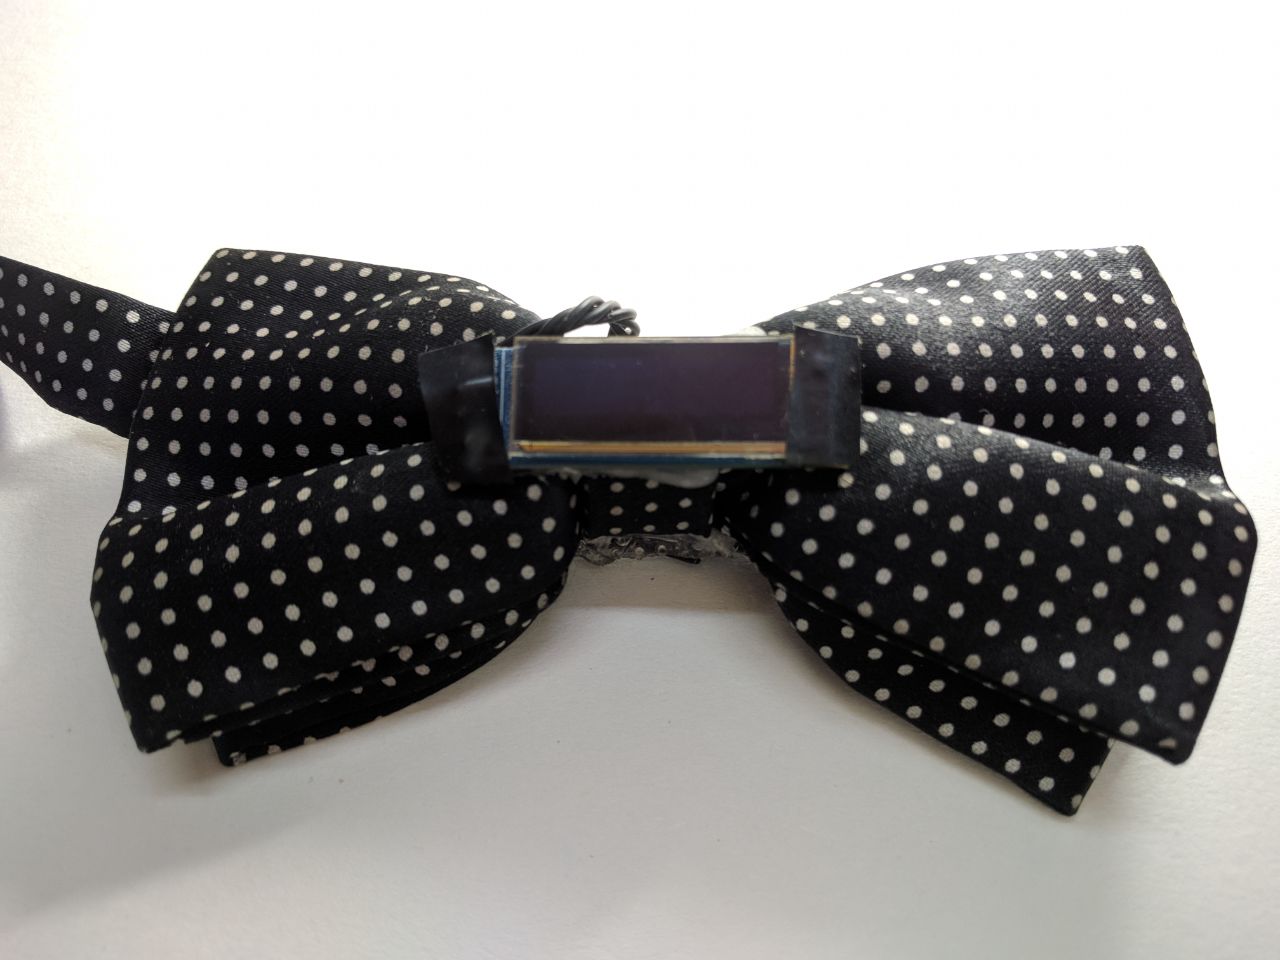
I had a couple of 128x32 pixels SD1306 OLED display modules which I ordered from China but never got a chance to actually use them. These are based on i2C/TWI/IIC or pronounced i-squared-c based protocol which is a half duplex two wire communication protocol widely used in electronics envolving microcontroller to talk to the chip for the purpose of data transfer.
i2c works over two wires namely:
- SDA or Serial Data
- SCL or Serial Clock, hence it is a synchronous protocol.
To drive this display we need a microcontroller, in this case I’ve chosen to go with Arduino Pro Mini size it’s small rectangular form factor makes it easy to mount at the back of the bow tie and it’s very easy to program thank’s to displays and graphics library made available by Adafruit Industries but you can also use Gemma or any other small microcontroller board.

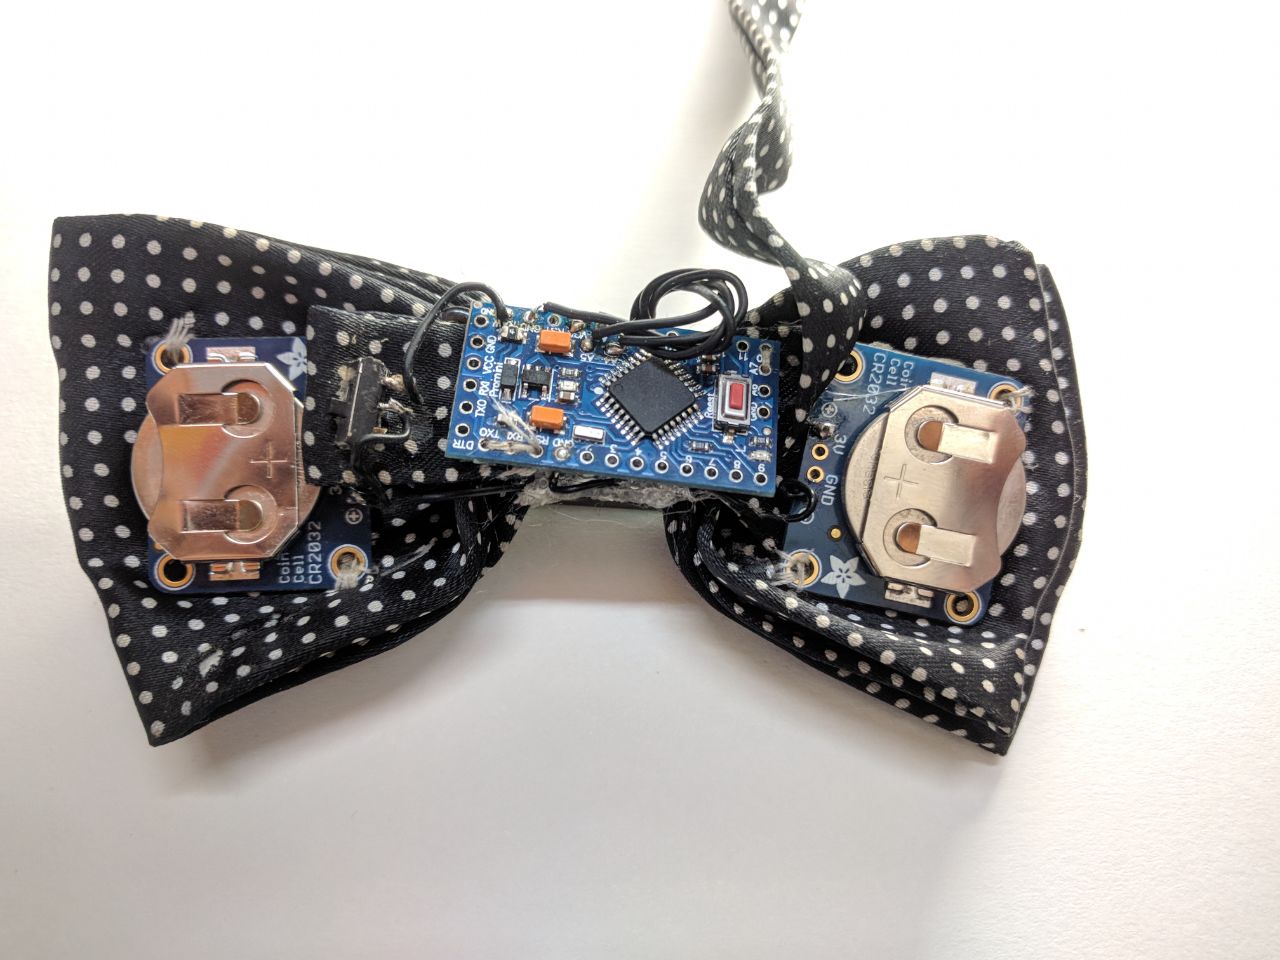
Circuit:
The circuit is fairly simple, OLED is conencted to i2c bus of the arduino i.e SDA line of OLED to SDA line of arduino, same for SCL, Arduino 3.3v pin will supply power to OLED, and board is getting powered from coin cell batteries. Add a slide switch if you want, to stick OLED, switch and pro mini on the tie, I used hot glue.

Code:
Project is programmed with Arduino IDE and is depenedent upon Adafruit GFX graphics and SD136 OLED Drivers library, both of which are available on github and has also been addes as submodule to this project. Clone the source code recursively from github repo and copy the libraries from lib folder to your arduino directory libraries folder. Change board to what you’ve used and serial port and click upload.
/*********************************************************************
Author: Ayan Pahwa
Project: iBow-T
*********************************************************************/
#include <Wire.h>
#include <Adafruit_GFX.h>
#include <Adafruit_SSD1306.h>
#define OLED_RESET 4
Adafruit_SSD1306 display(OLED_RESET);
void setup() {
display.begin(SSD1306_SWITCHCAPVCC, 0x3C); // initialize with the I2C addr 0x3C (for the 128x32)
display.display();
delay(2000);
display.clearDisplay(); // Clear the buffer.
testscrolltext(); // Function call to display text
}
void loop() {
}
void testscrolltext(void) {
display.setTextSize(2);
display.setTextColor(WHITE);
display.setCursor(0,0);
display.clearDisplay();
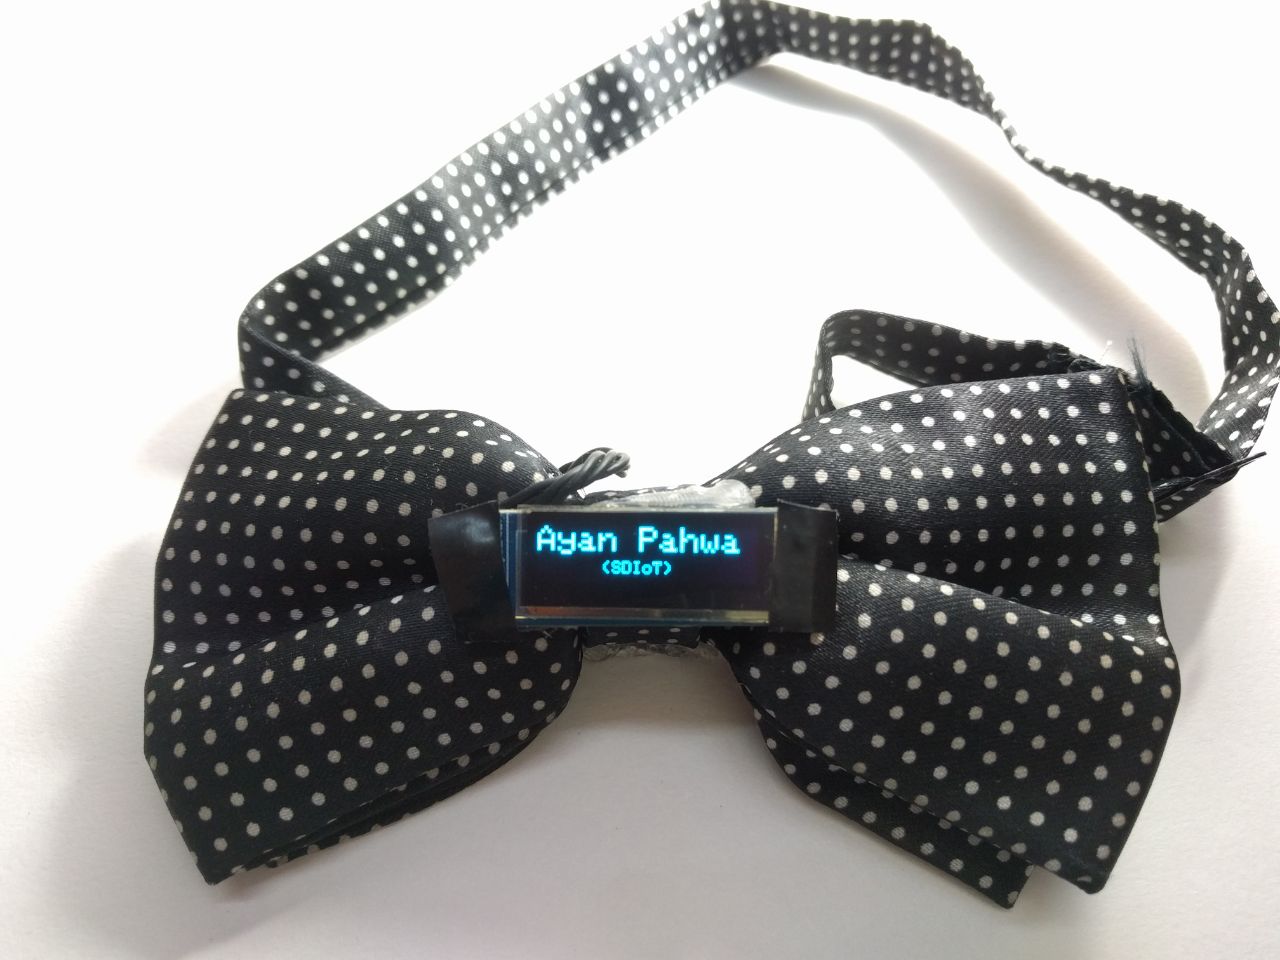
display.println("YOUR NAME"); // Change your name
display.setTextSize(1);
display.setCursor(32,20);
display.println("(YOUR COMPANY's NAME)"); // Change your company's name
display.display();
delay(1);
}
Thoughts:
- It’s definitely an eye-catcher, ask my friend who wore it at the club party last week ;)
- Battery last for 10 hours straight, which I’ve tested. Since it’s not rechargeable it’s a good idea to take some extra in the pocket :)
Thanks for stopping by, Do give it a thumbs up, and if you make one don’t forget to share and use hashTag #MadeWithCodeWear
Leave a Comment